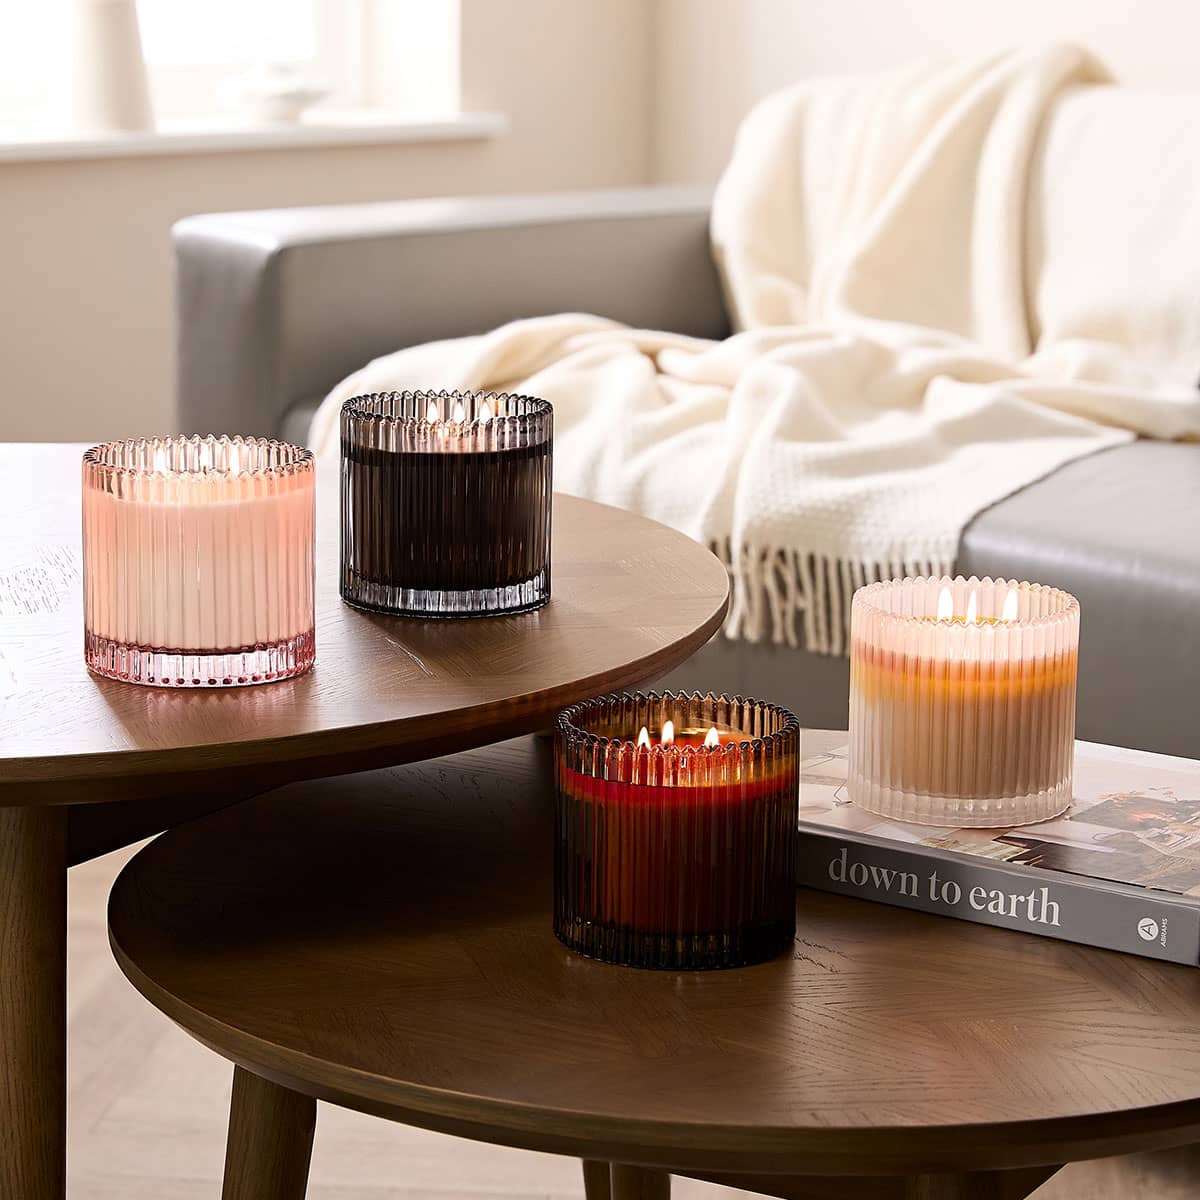
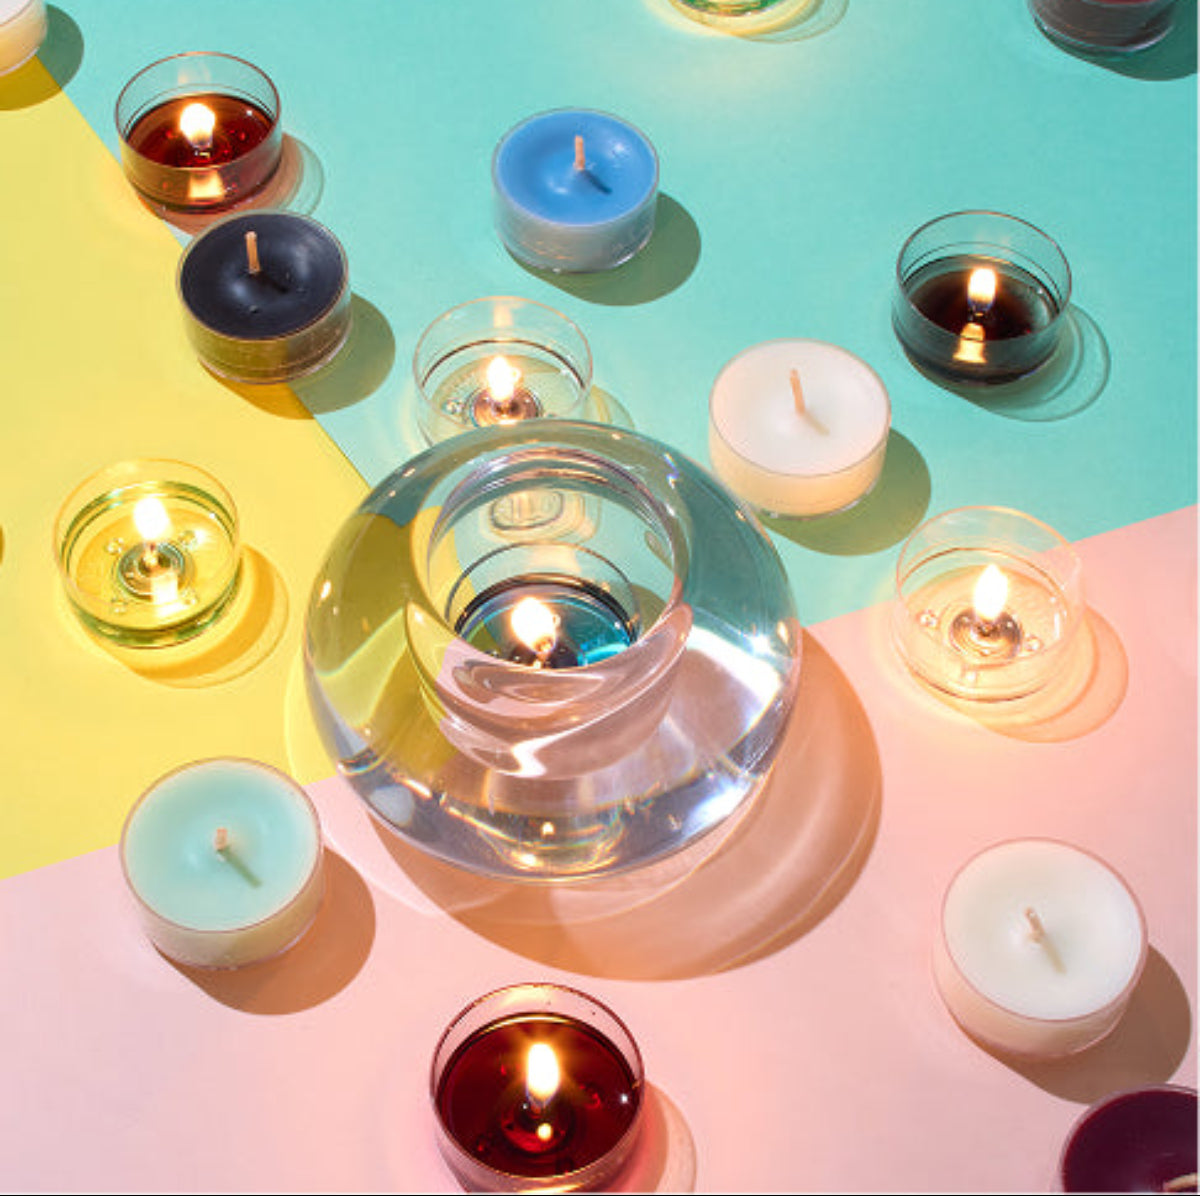
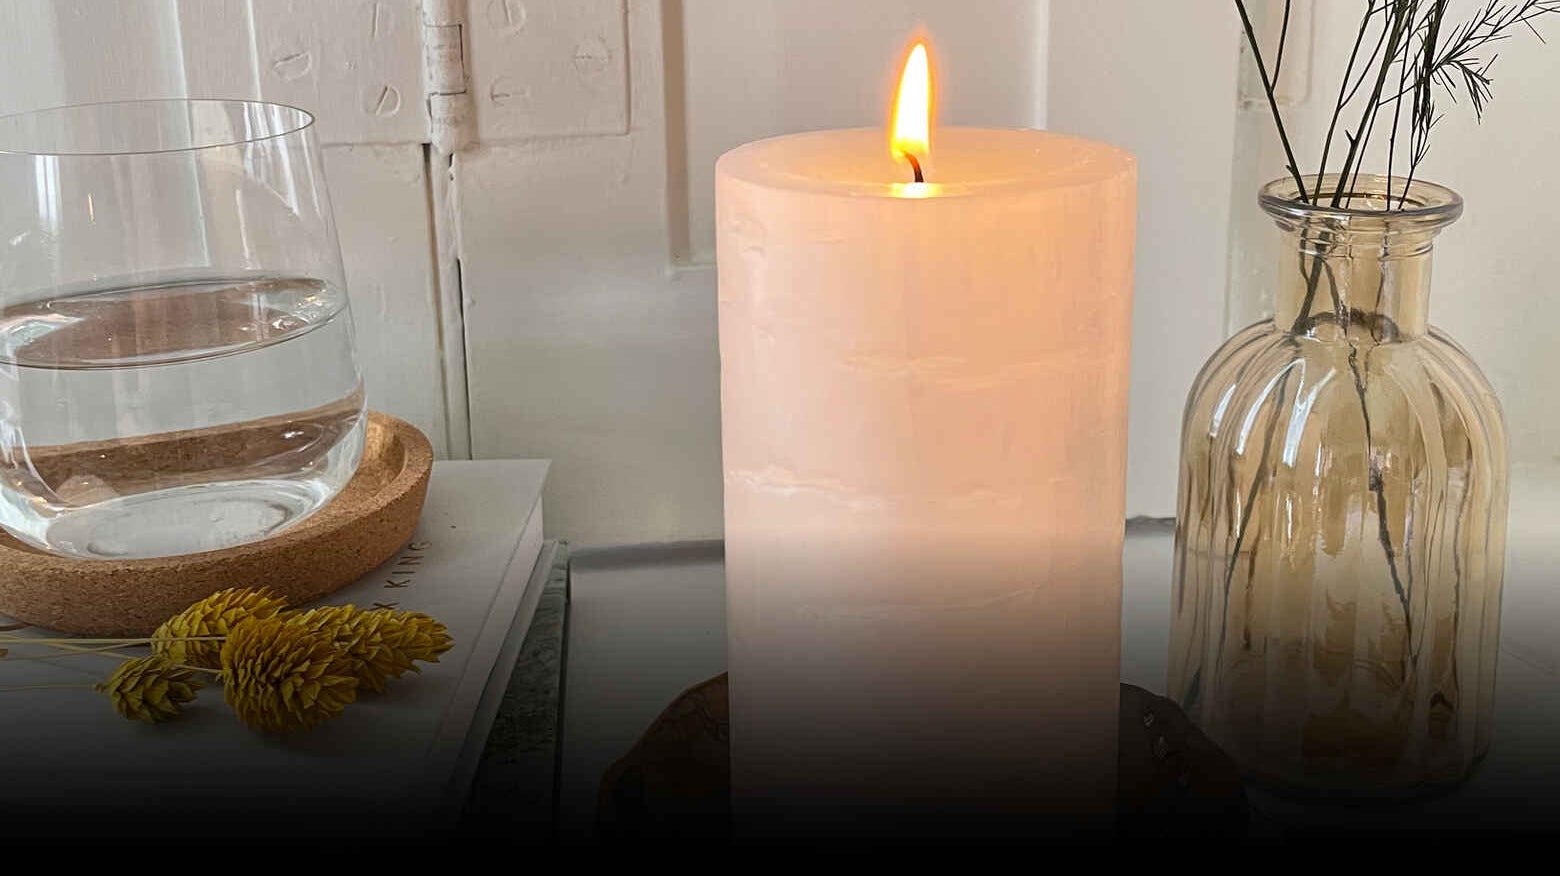
Love the shape, and the sell of the candles beautiful
S
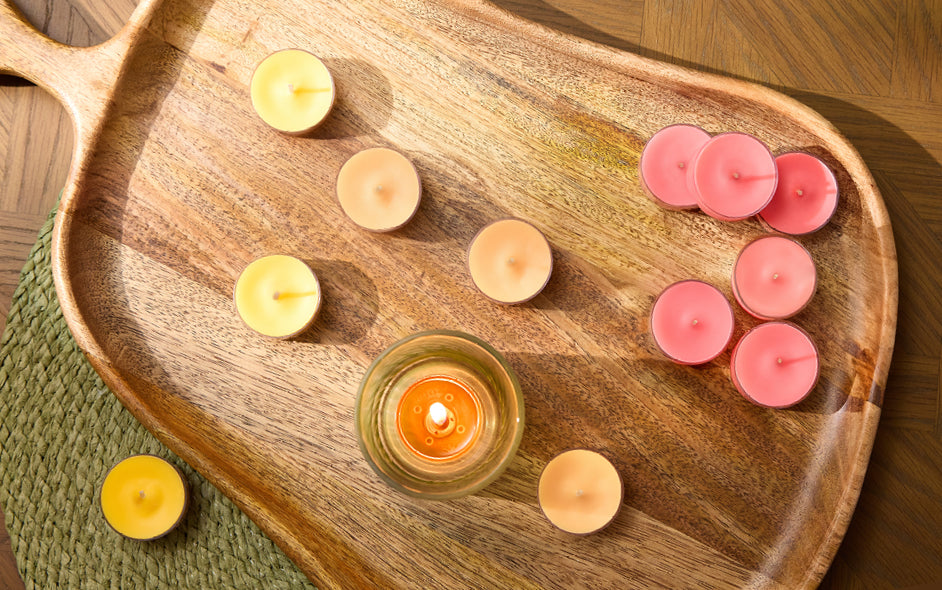
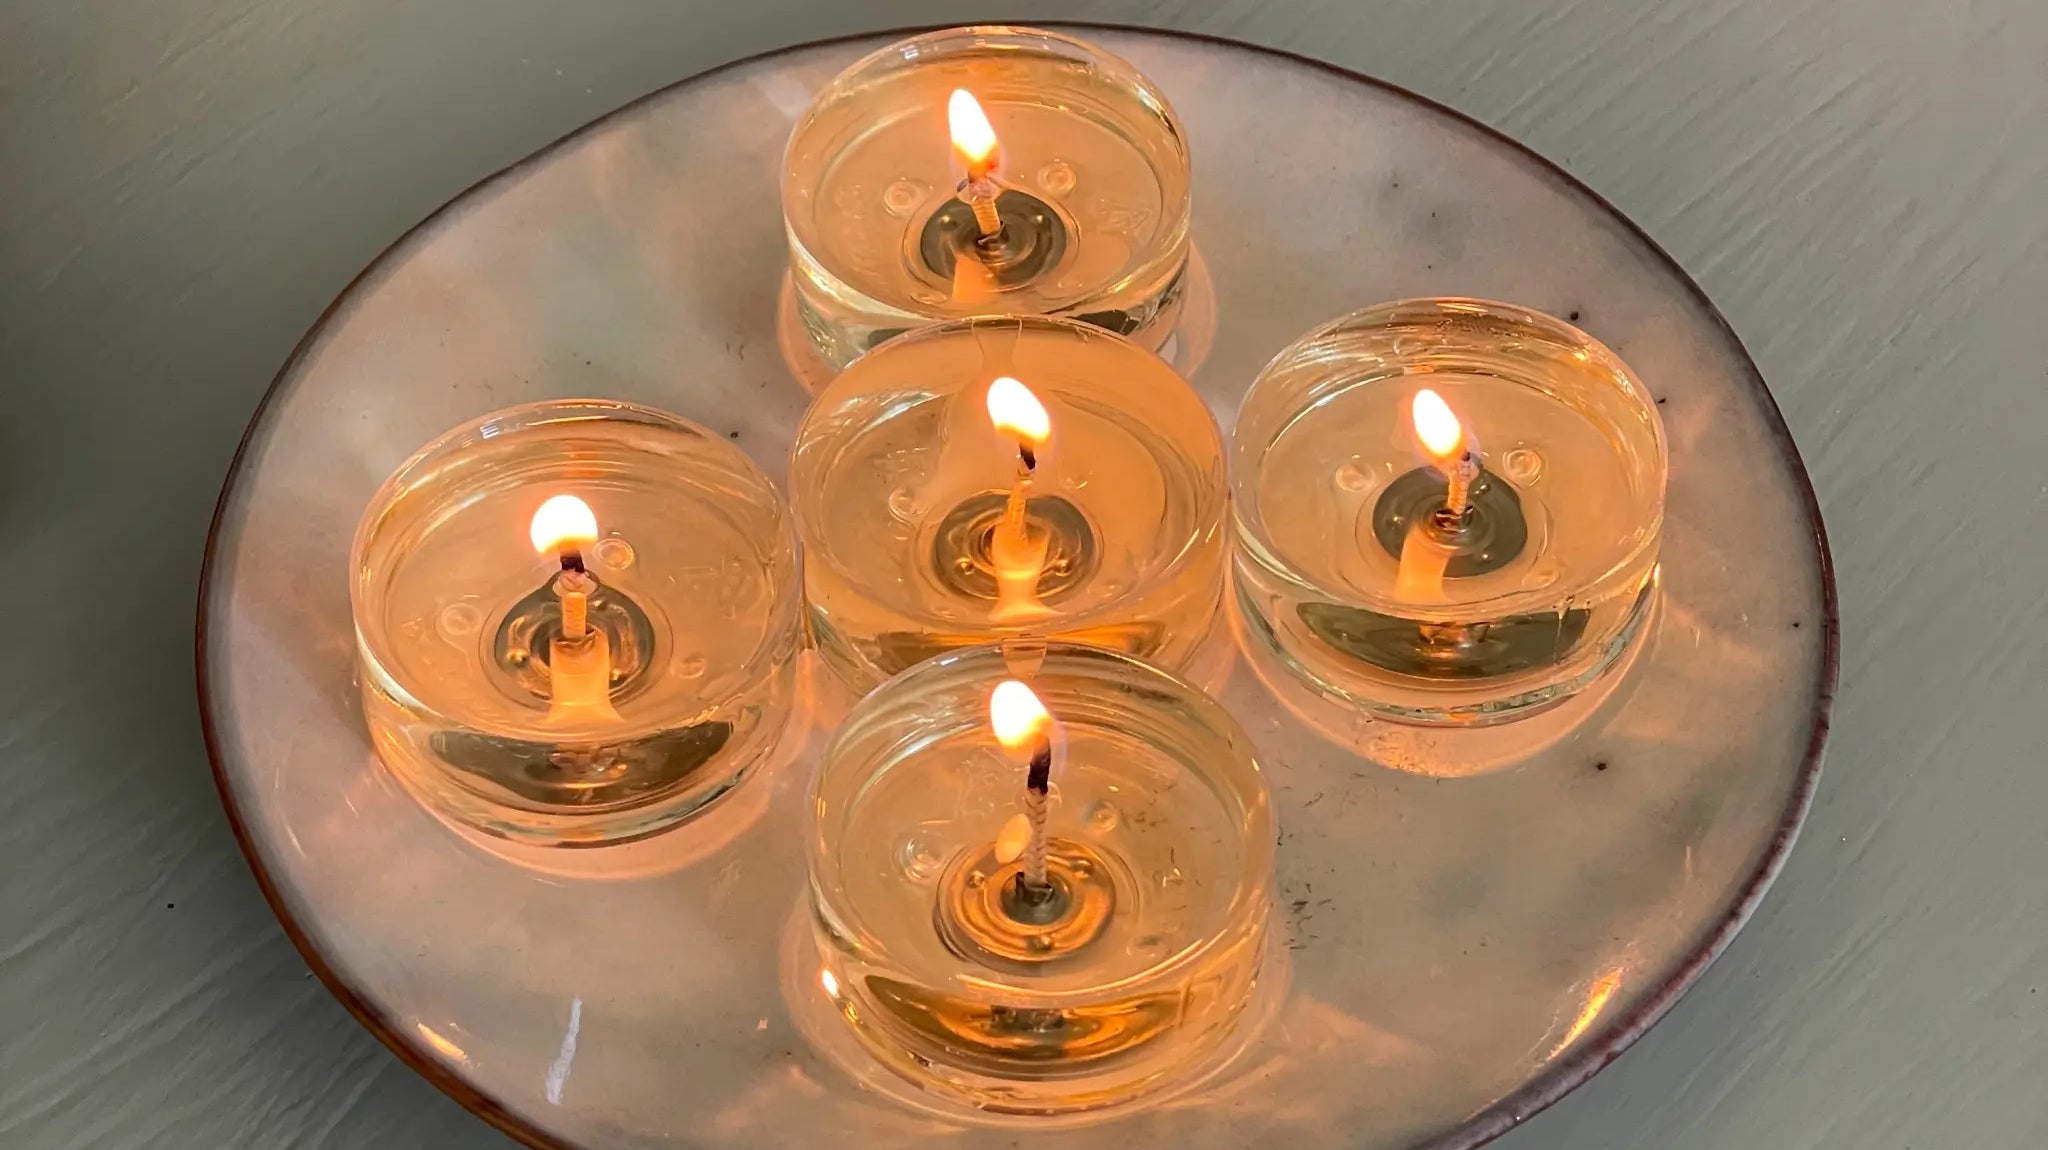
Lily & Linen Universal Tealight® Candles I love the smell of Lilies with the Linen it it a Flowery Fresh Delightful Scent! I was very pleased with these and that is why i had purchased more this time!
S
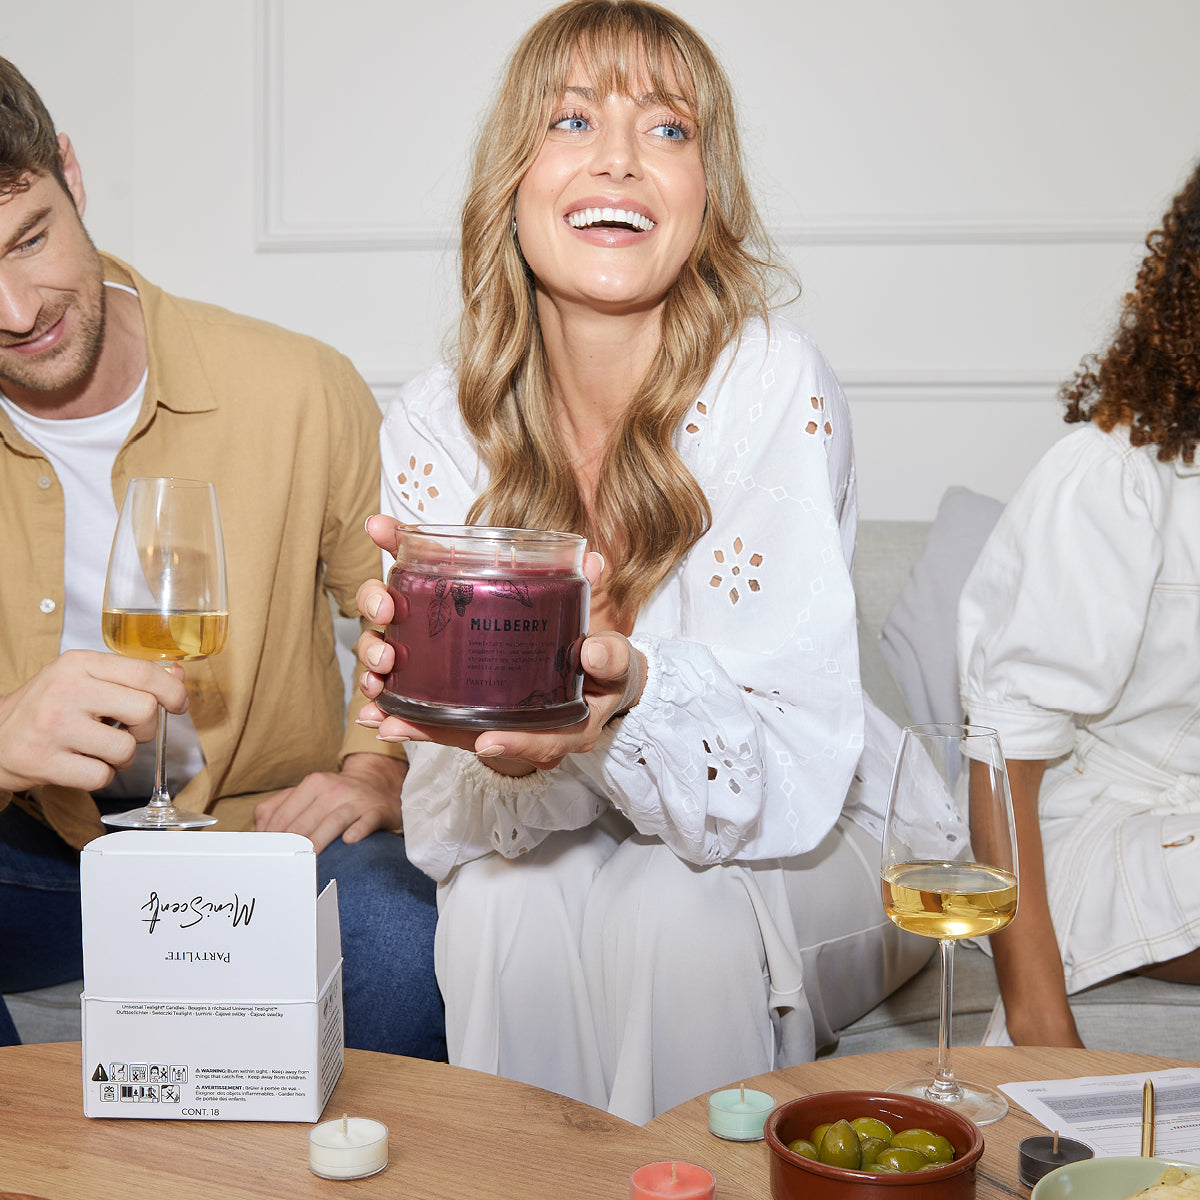
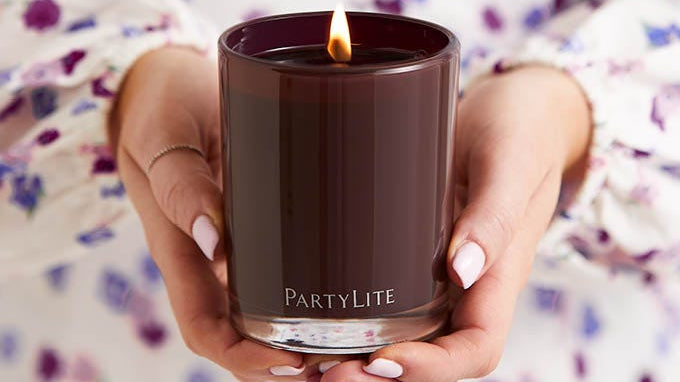
Mulberry Universal Tealight® Candles This is My Favorite Scented Candles from PartyLite US. “Mulberry”, so inviting, scent fresh floral scent and definitely is Not overwhelming! When people come into my home they tell me how wonderful my home smell and ask me what scent it is and where can they buy it! They loved it!
J
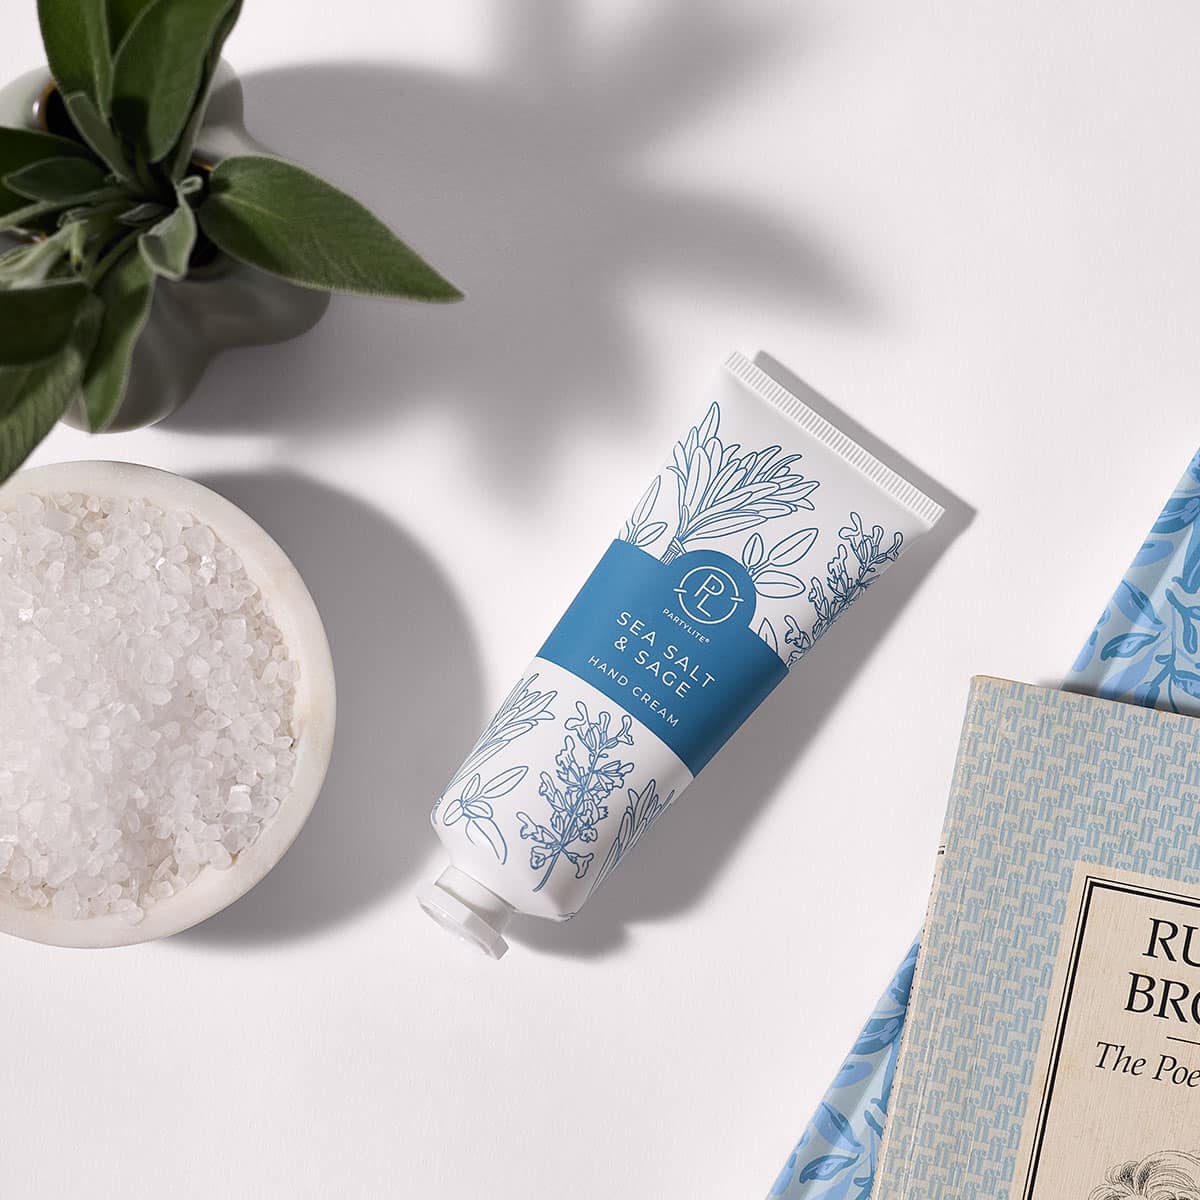
Perfect Pet Room & Linen Spray So pleased to find this as I used the deodorising version year’s ago and it lasted a long, long time. This one smell exactly the same so I’m happy to have found it. I will definitely purchase it again